Quick Answer
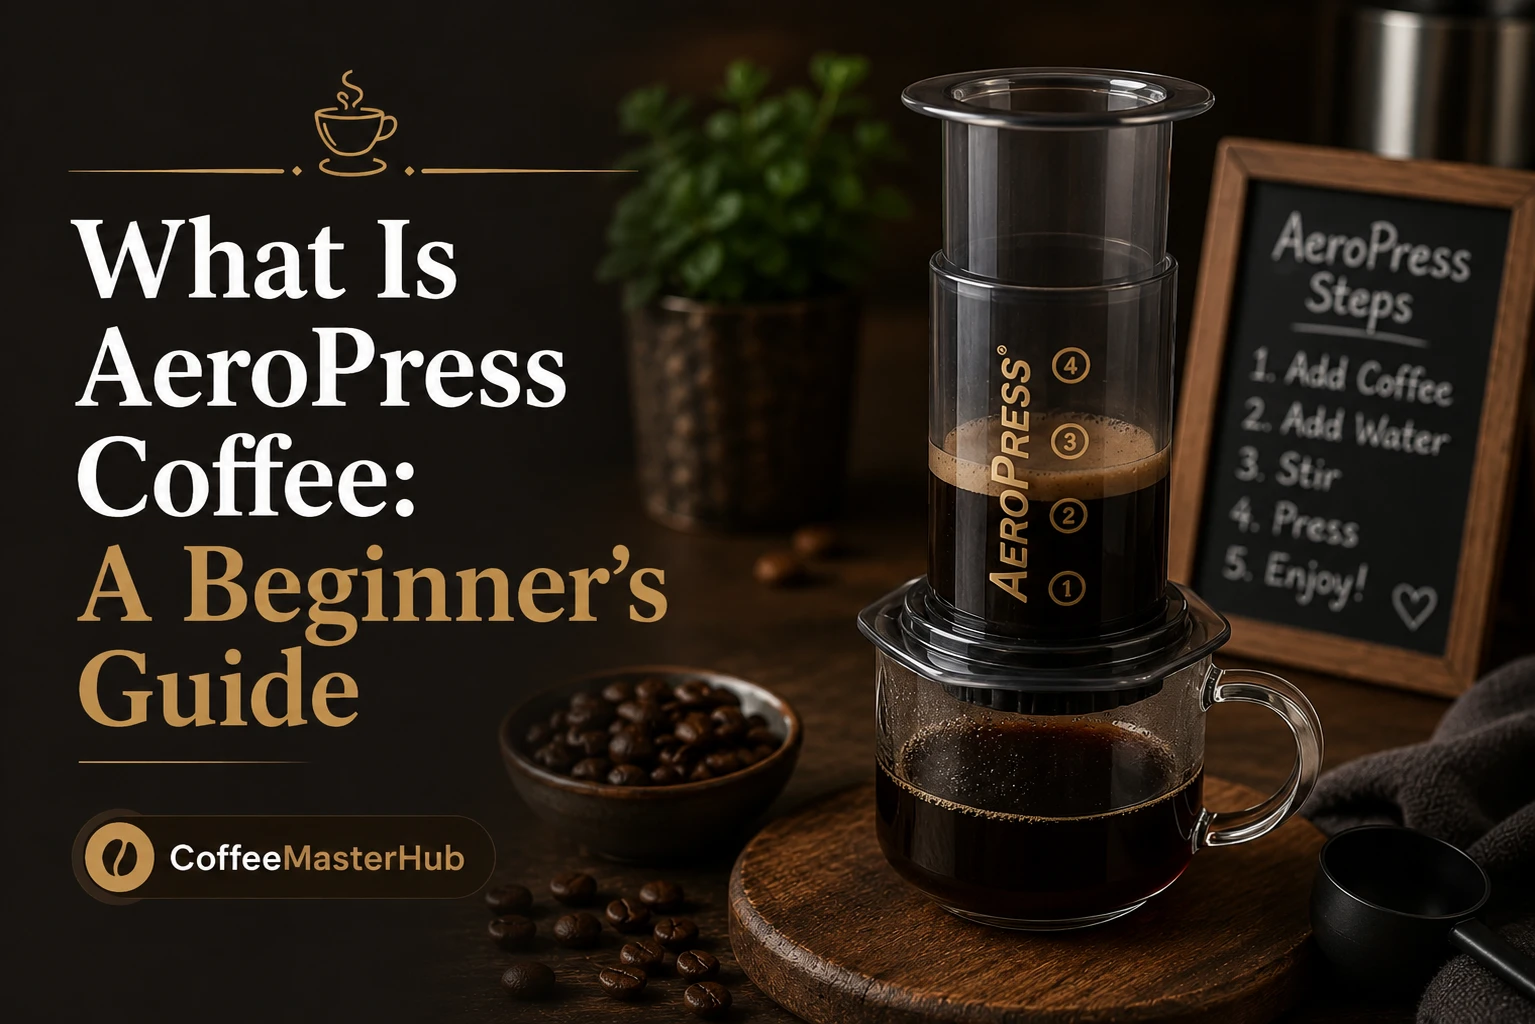
An AeroPress is a compact, portable coffee maker that brews coffee using a combination of immersion and air pressure. It consists of two cylindrical tubes that stack together with a plunger, filters, and a chamber where hot water steeps with ground coffee. When you press the plunger down, air pressure forces the brewed coffee through a micro-filter into your cup, creating a smooth, clean cup in just a few minutes.
Introduction
The AeroPress produces distinctly different coffee compared to French press or pour over methods because of how it extracts flavor. Many people who discover the AeroPress become devoted fans because it delivers excellent results without requiring expensive equipment or complicated technique.
If you’ve heard about the AeroPress and wondered what all the fuss is about, this guide will explain what it is, how it works, and whether it might be right for your coffee routine.
Understanding the AeroPress Device
The AeroPress resembles a large syringe or pump, which is why some people call it the “coffee syringe.” It’s made from durable plastic and stainless steel components that feel surprisingly well-made despite the simple design. The entire device fits in your hand, making it remarkably portable compared to other brewing methods.
The device has an outer chamber where water and ground coffee go, an inner plunger that moves up and down, and a cap at the bottom that holds filters. Paper or metal micro-filters sit at the base of the chamber, allowing liquid to pass while trapping sediment. The plunger creates an airtight seal that builds air pressure when you push downward.
An AeroPress comes in different sizes, but the standard model brews one to three cups. The XL version produces more coffee if you’re brewing for multiple people. Both work using the same basic principle, just with different capacities.
How AeroPress Brewing Method Works
Brewing with an AeroPress involves a four-step process that takes only three to four minutes total. First, you insert a paper or metal filter into the cap, rinse it with hot water, and attach the cap to the chamber. This step removes paper dust and ensures a proper seal.
Add medium-fine ground coffee to the chamber, then pour hot water (around 175 to 195 degrees Fahrenheit) over the grounds. The water should wet all the grounds evenly. Let the coffee steep for about one minute, stirring gently a couple times if you like.
After steeping, place the plunger on top of the chamber and slowly press downward. Applying steady, moderate pressure takes about thirty seconds to a minute. You’ll feel resistance as air pressure builds, which forces the brewed coffee down through the filter into your cup below.
The entire process from start to finish takes just four to five minutes, making the AeroPress one of the fastest brewing methods. The micro-filter produces exceptionally clean coffee with minimal sediment compared to French press.
AeroPress vs Other Brewing Methods
The AeroPress differs from French press in several important ways. French press uses a metal mesh filter that allows coffee oils and fine particles through, creating a fuller-bodied, heavier cup. AeroPress uses micro-filters that trap oils, producing cleaner, brighter coffee. French press also requires four minutes of steeping time plus waiting for grounds to settle, while AeroPress takes just four to five minutes total.
Pour over methods like V60 or Chemex take similar time but require different technique and equipment. Pour over involves pouring water continuously while gravity pulls it through grounds, whereas AeroPress uses air pressure for a completely different extraction method. Pour over coffee tastes similar to AeroPress but with slightly different flavor notes.
Espresso machines create intense pressure forcing water through finely ground coffee in seconds, producing concentrated shots. AeroPress uses gentle pressure compared to espresso, requiring much coarser grounds and longer steeping. The final cup from an AeroPress is closer to regular drip coffee in strength, while espresso is concentrated and intense.
Automatic drip coffee makers are convenient but often use lower water temperatures and produce inconsistent results. AeroPress requires slightly more attention but delivers better flavor control and superior taste compared to most automatic machines.
AeroPress Coffee Recipe and Measurements
The standard AeroPress recipe uses a 1:16 coffee-to-water ratio, meaning one part coffee to sixteen parts water by weight. Using a kitchen scale makes this precise. For example, if you use twenty grams of coffee, add 320 milliliters of water. If you don’t have a scale, two level scoops of medium-fine ground coffee with the provided scoop fills most of the chamber nicely. Fill the chamber to the number two mark with hot water for approximately one to two cups of brewed coffee.
Water temperature matters more than many people realize. Water between 175 and 195 degrees works best. Boiling water at 212 degrees produces slightly bitter, over-extracted coffee, while cooler water under-extracts, leaving sour flavors. If you don’t have a thermometer, let boiling water cool for about one minute before using it.
Grind size should be medium-fine, resembling table salt texture. Finer grinds increase resistance while pressing, making the plunger difficult to push. Coarser grinds produce weaker, under-extracted coffee. If you notice the coffee tastes weak or bitter, grind size adjustment usually fixes the problem.
Step-by-Step AeroPress Brewing Guide
Start by placing the AeroPress on a sturdy cup positioned below the chamber. Insert a paper or metal filter into the cap, rinse it briefly with hot water, then screw the cap onto the bottom of the chamber. The rinsing removes paper dust and ensures a proper seal.
Add your ground coffee to the chamber, then pour just enough hot water to saturate the grounds. Wait about thirty seconds, allowing the coffee to bloom as gases escape. Pour the remaining water slowly to the number one or two mark depending on how strong you like your coffee.
Stir the mixture gently for about ten to fifteen seconds, coating all the grounds. Place the plunger on top of the chamber, creating an airtight seal. Press steadily downward using moderate pressure for thirty seconds to one minute until you hear a hissing sound.
The hissing means you’ve reached the end of the brew cycle. Remove the AeroPress from your cup, unscrew the cap, and push the plunger all the way down to eject the used coffee grounds and filter into the trash. Rinse the device quickly before residue dries.
Benefits of Using an AeroPress
The AeroPress produces exceptionally clean coffee because of its micro-filters, creating a smooth cup without the sediment or heaviness of French press. The brewing process is forgiving and hard to mess up, making it perfect for beginners who want good results without steep learning curves. Portability is a huge advantage.
The entire device weighs just a few ounces and fits easily into luggage, camping gear, or a backpack. Many travelers and campers bring AeroPress because it delivers café-quality coffee anywhere with access to hot water.
The device is durable and lasts many years with basic care. It costs between thirty and fifty dollars, making it affordable compared to espresso machines or high-end pour over equipment. Replacement filters cost just a few dollars and come in large quantities. Cleanup is quick and simple.
You just rinse the chamber and plunger under running water, taking maybe thirty seconds. The entire device dries within minutes, and there’s no coffee-stained paper or metal to clean like other methods require.
Who Should Consider Getting an AeroPress
If you travel frequently, camp, or spend time away from home, an AeroPress belongs in your bag. It’s the most portable brewing method that produces genuinely great coffee without electricity or complicated setup. People who value convenience and speed appreciate the AeroPress because it brews excellent coffee faster than most other methods. If you want good coffee on weekday mornings without waiting around, the quick brewing time makes a real difference.
Coffee enthusiasts experimenting with different brewing methods often add an AeroPress to their collection. The different extraction method produces distinct flavor notes compared to French press or pour over, and many people enjoy the variety. Those with limited kitchen space benefit from the AeroPress because it takes up almost no room in cabinets or drawers. If you live in a small apartment or prefer minimalist kitchen setups, the compact design appeals to many people.
Tips for Better AeroPress Results
Invest in a decent grinder over anything else. A burr grinder produces consistent medium-fine grounds that extract properly. Blade grinders create uneven particles that lead to inconsistent brewing results. Buy fresh beans and grind immediately before brewing. Coffee begins losing flavor within hours of grinding. If you can buy from a local roaster with visible roast dates, your coffee will taste noticeably better.
Use filtered water if your tap water tastes mineral-heavy or has chlorine flavor. Water quality affects the final taste more than most people realize. Experiment with brewing time, water temperature, and grind size within the ranges mentioned. Small adjustments reveal how sensitive coffee is to these variables. Keep notes of what you try and how the coffee tasted, building your preferences over time.
Common AeroPress Mistakes to Avoid
Using paper filters without rinsing them first leaves paper dust in your coffee, creating an off-putting flavor. Always rinse the filter briefly with hot water before brewing. Grinding too fine causes excessive resistance when pressing the plunger. You shouldn’t need to strain or force pressure. If pressing feels difficult, your grind is too fine.
Pressing too quickly creates less flavorful coffee by rushing extraction. Steady, moderate pressure over thirty seconds to one minute produces better results than quick pressing. Using water that’s too hot or too cold changes the extraction dramatically. Stick to the recommended 175 to 195 degree range for consistent, balanced results.
Conclusion
An AeroPress is a simple yet effective brewing device that combines immersion and air pressure to create clean, flavorful coffee in minutes. It works differently from French press, pour over, and espresso methods, producing a distinct coffee profile that many people prefer.
The AeroPress excels at balancing convenience, portability, and excellent taste, making it an outstanding choice whether you’re traveling, camping, or simply want quick morning coffee at home. Once you understand the basic brewing process, the AeroPress becomes one of your most reliable and enjoyable brewing methods.
About the Author
Muhammad Hammad Abbas started Coffee Master Hub, where he shares useful coffee guides and brewing tips based on his own research and experience. He works to make coffee knowledge easier to understand and tries out different methods to help readers make better coffee at home.
Frequently Asked Questions
No, regular filters are too thick and don’t fit properly. AeroPress-specific filters are thinner and sized to fit the device’s cap. Replacement AeroPress filters are inexpensive and widely available online or at coffee shops, coming in quantities of hundreds so they last years.
AeroPress produces coffee similar in strength to drip, but with cleaner flavor because the micro-filters trap oils. You can make stronger or weaker coffee by adjusting the coffee-to-water ratio. Adding more coffee grounds creates a bolder cup without making it taste harsh.
Any quality fresh coffee beans work fine in an AeroPress. Medium roasts showcase the clean flavor profile well, while dark roasts create bolder cups. Buy whole beans and grind them medium-fine just before brewing for best results.
A standard AeroPress brews one to three cups depending on how full you fill the chamber with water. The XL model brews more. Most people brew one or two cups at a time, which takes the same four to five minutes.