Quick Answer
You need four ingredients, one small pot, and about five minutes. That is genuinely all it takes to make homemade coffee creamer from scratch. Whole milk or cream, something sweet, and a flavoring like vanilla. Stir it together over low heat, pour it into a jar, and it is ready to go.
Introduction
Honestly, I put this off for longer than I should have. Seemed unnecessary when the store had shelves full of the stuff. Then I flipped one of those bottles over and read the ingredient list. Carrageenan, sodium caseinate, dipotassium phosphate, “natural flavors.” That was enough. I made a batch the next morning and have not bought store creamer since.
If you have never tried making it at home, this walks you through everything. The basic recipe, a handful of flavor options, how long it keeps, and the few places people mess it up the first time.
Why Bother Making It at Home
Convenience is real. Nobody is arguing that. But store-bought creamers lean heavily on stabilizers and thickeners to give them a long shelf life and a consistent pour. That works for the manufacturer. It does not necessarily work for you. When you make it yourself, you control every ingredient. Real cream, real vanilla, real sugar or condensed milk and nothing else unless you want it. If you are cutting additives, watching sodium, or just someone who likes knowing what is actually in their food, homemade is a straightforward win.
Cost is another thing worth mentioning. A bottle of flavored creamer runs three to five dollars at most grocery stores and lasts a heavy coffee drinker about a week. A batch of homemade creamer uses ingredients you probably already have, costs less, and tastes cleaner. Not as artificially sweet, and noticeably fresher.
The Basic Homemade Coffee Creamer Recipe
Start here before trying any of the flavored versions. Once you have made this once, the variations are easy to figure out.
What you need:
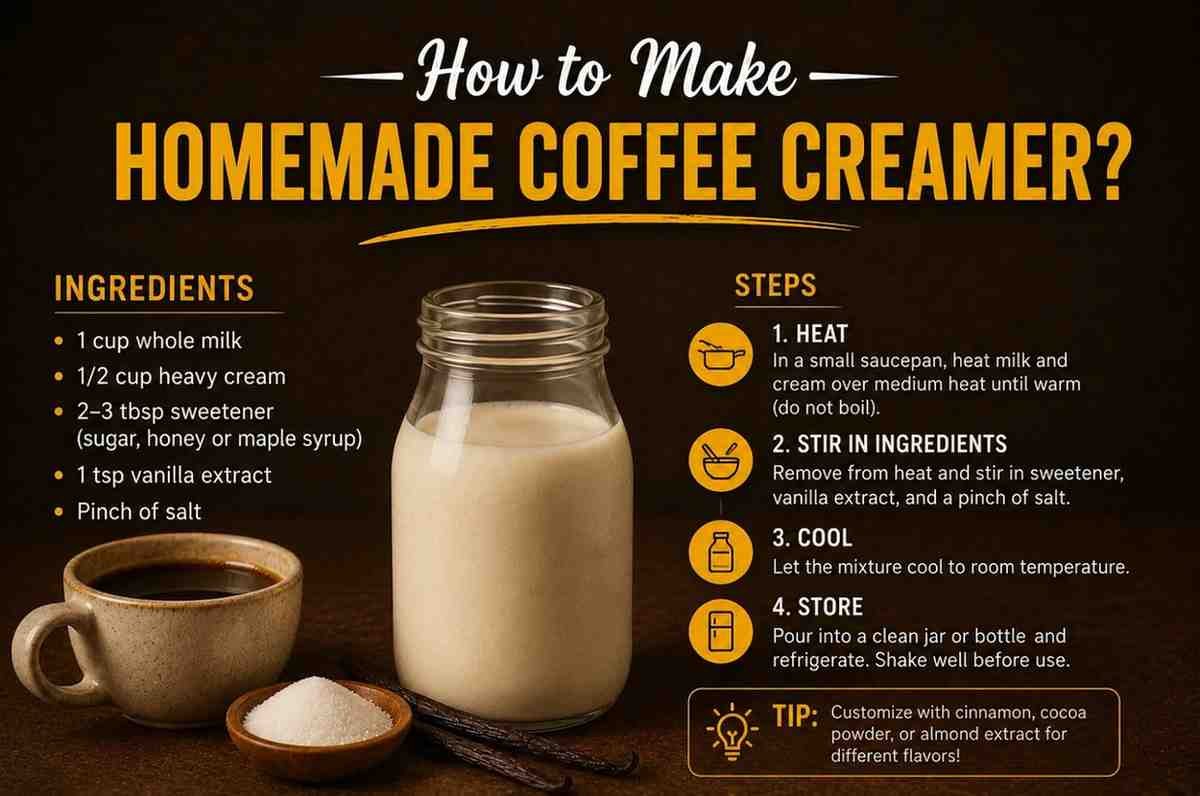
- 1 cup whole milk or half-and-half
- 1 cup heavy cream
- 2 to 4 tablespoons sweetened condensed milk (or sugar to taste)
- 1 teaspoon pure vanilla extract
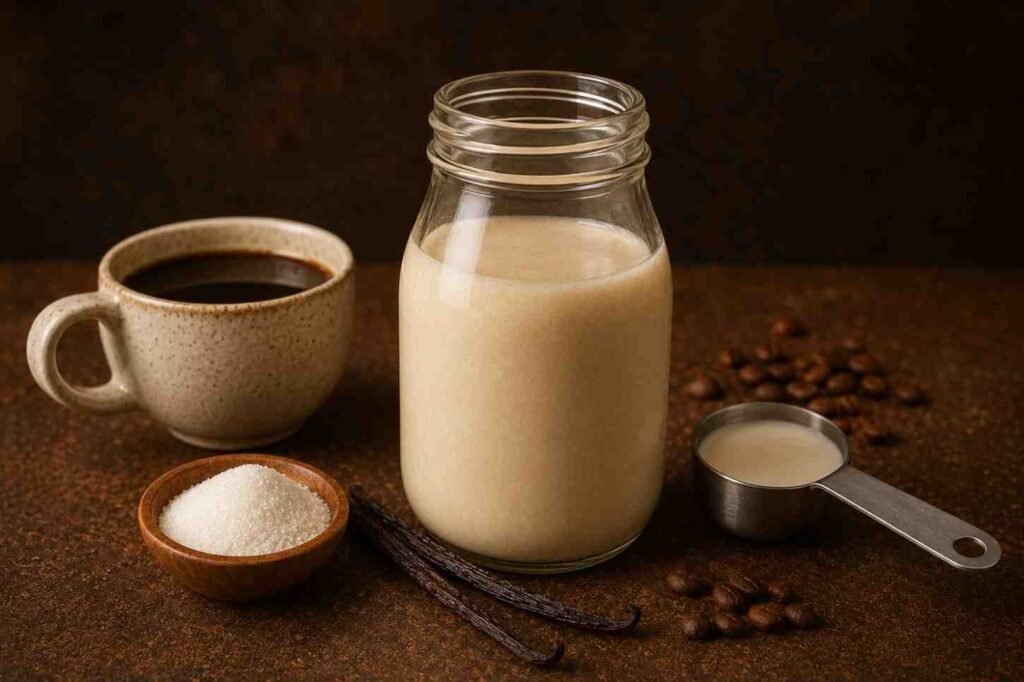
Pour the milk and cream into a small saucepan and set the heat to low. Add the condensed milk and vanilla. Stir gently for two to three minutes. You just want everything to come together and get warm. Do not let it boil. Pull it off the heat, give it a minute to cool down, then pour it into a mason jar or whatever clean glass container you have with a tight lid. It keeps in the fridge for up to ten days. Before each use, give it a shake or a quick stir. Without stabilizers, some separation happens and that is completely normal.
Getting the Sweetness Right
Two tablespoons of condensed milk is a reasonable starting point. Taste it before you put the lid on. If it needs more, add a little. If you want to use regular sugar instead, dissolve it in a splash of warm water first. Plain granulated sugar does not incorporate well into a cold liquid and you end up with gritty creamer.
Flavor Variations Worth Trying
The base recipe is fine on its own, but it is also a blank slate. These are some of the more practical variations that do not require tracking down specialty ingredients.
Vanilla Bean Creamer
Instead of vanilla extract, use one whole vanilla bean. Split it lengthwise and drop it in the milk and cream while it heats. Let it simmer for about five minutes, then fish the pod out. If you want more intensity, scrape the seeds directly into the mixture before heating. The difference compared to extract is real. Warmer, more rounded, noticeably better.
French Vanilla Creamer
Whisk one egg yolk into the base before you start heating it. Keep the heat low and stir constantly. The yolk thickens the creamer slightly and gives it a richer, almost custard-like body. Just do not rush the heat or you will scramble the egg.
Mocha Creamer
Add two tablespoons of unsweetened cocoa powder and bump the sweetener up by a tablespoon. Whisk it while heating so the cocoa dissolves fully because skipping this step leaves lumps at the bottom of the jar. Half a teaspoon of espresso powder sharpens the chocolate flavor if you have it lying around.
Hazelnut Creamer
The fast version is hazelnut syrup, the same kind coffee shops use. Two tablespoons in place of the condensed milk gets you most of the way there. For real hazelnut flavor, toast a small handful in a dry pan, simmer them in the cream for ten minutes, strain them out, then finish the recipe. More effort, considerably better result.
Dairy-Free Version
Full-fat coconut milk is the most reliable swap. It has enough fat to give the creamer real body, and the mild sweetness it carries works well with vanilla and mocha. Oat milk works too, though the result is thinner. Either way, the process is the same. Just swap it in for the milk and cream.
How to Make It Last Longer in the Fridge
Ten days is the usual range when everything is fresh and a few things affect that. Buy the freshest milk and cream you can. If the sell-by date is two days away when you make the batch, do not expect it to last a week. Start fresh and you will get the full shelf life out of it. Use a clean jar with a good seal. Mason jars are ideal because the lid seats properly and keeps air out. Avoid reusing containers that held strong-smelling foods because dairy picks up odors easily.
Do not leave the jar sitting on the counter while you make your coffee. Every trip from fridge to counter and back cuts into the shelf life. Pour what you need and put it away. If you want it to stretch past ten days, freeze part of the batch in an ice cube tray. Pop out a couple cubes as needed. The texture changes slightly after freezing, but for coffee you will not notice it much.
Mistakes That Catch People the First Time
Turning the heat up is the most common one. It is tempting to speed things along, but boiling the mixture damages the texture and dulls the flavor. Low heat, steady stirring, and you are done in a few minutes. Using imitation vanilla is another thing people regret. The gap between real vanilla extract and the imitation version is obvious in something this simple. Imitation has a synthetic edge that sticks around in every sip. Spend the extra dollar on the real thing.
Not tasting before storing trips people up more than you would expect. Fix the sweetness while the creamer is still warm. Once it is cold and sitting in the fridge, adjusting it is a lot more hassle. Making too much on the first try is also worth avoiding. If it is a new flavor, make half a batch. Better to run out than pour a full jar down the drain.
Storing and Serving
Label the jar with the date when you make it. Masking tape and a marker, five seconds. Shake before every use because separation is normal without emulsifiers and does not mean anything has gone wrong. If you drink cold brew or iced coffee, homemade creamer works particularly well in it. The flavor comes through without the artificial sweetness that clings to a lot of store-bought versions.
Conclusion
Four ingredients, five minutes, and you have a fresh jar of homemade coffee creamer that costs less and tastes better than most of what sits on store shelves. Start with the basic recipe, get comfortable with the ratios, then try whichever flavor sounds good to you. Nothing is fixed when you make it yourself. You adjust it until it works in your cup, and that is the whole point.
About the Author
Muhammad Hammad Abbas started Coffee Master Hub, where he shares useful coffee guides and brewing tips based on his own research and experience. He works to make coffee knowledge easier to understand and tries out different methods to help readers make better coffee at home.